HACKING FORNO
Da forno da tempra a forno programmabile
Makers: Stefano Rondi - Ermes Marcigaglia - Maria Scarognina - Massimiliano Ferré
Coordinamento: Massimiliano Ferré
Forno provided by VCO Formazione
Introduction
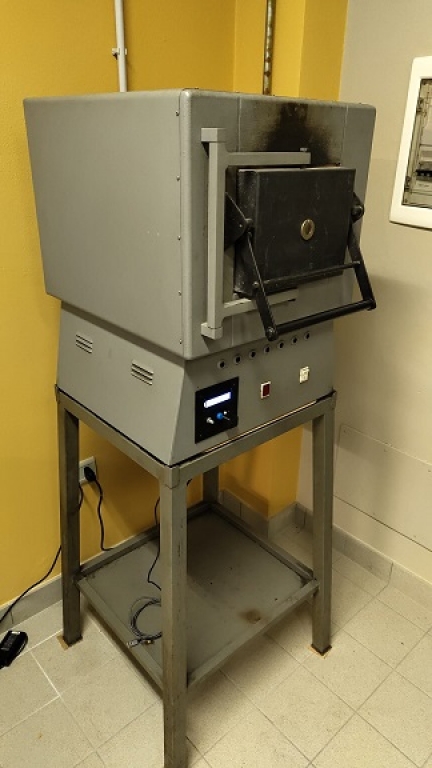
This documentation provides detailed information about the modifications needed to transform a metal tempering oven into a glass tempering oven. The main issue that was encountered is the fact that the initial interface of the oven allowed heating only at a specific temperature without the ability to modify the heating curve. Therefore, it was necessary to add a control board that could read the temperature and control the oven based on a curve set by the user.
Development
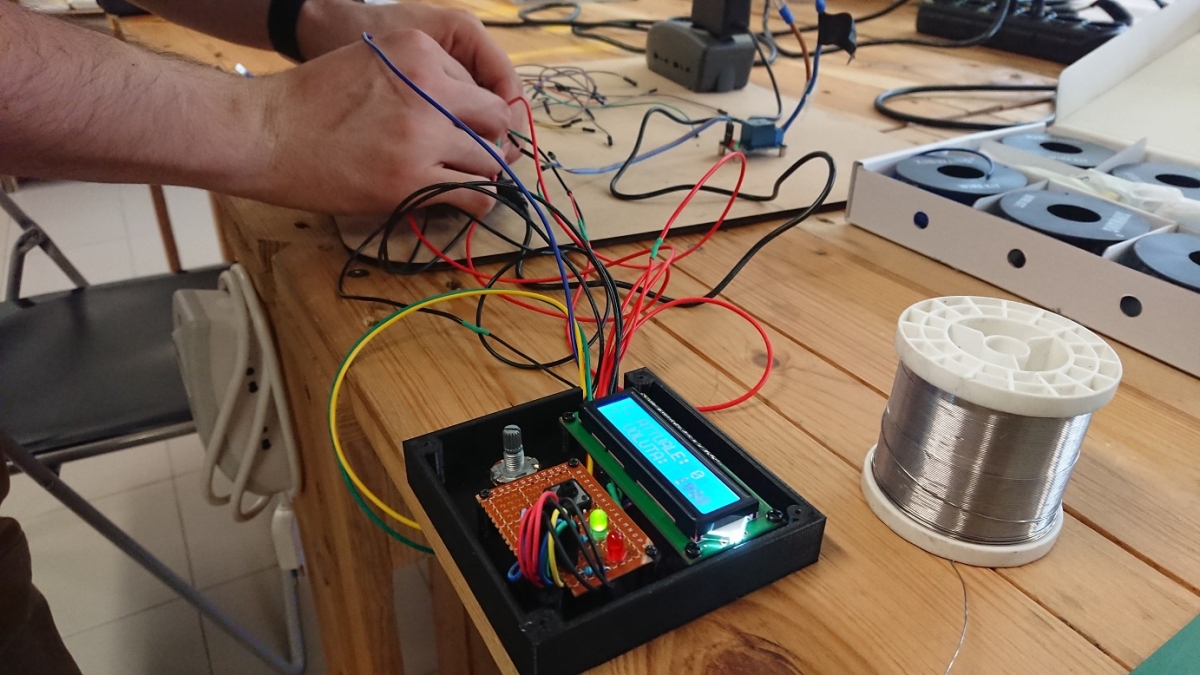
We chose the well-known Arduino platform, specifically the "Uno" model, for our project. As for the temperature reading part, we decided to utilize the existing sensor in the oven, a type K thermocouple paired with a MAX6675 chip that enables the microcontroller to read the sensor measurement. Lastly, for the control part, we opted to use a relay that, in turn, controls the power relay connected to the heating coils of the oven.

Furthermore, it was decided to divide the project into two parts to preserve the previous use of the oven. The two modes are:
MANUAL MODE
The manual function replicates the exact previous operation of the oven, with the difference that the Arduino Uno is used in the interface, which includes:
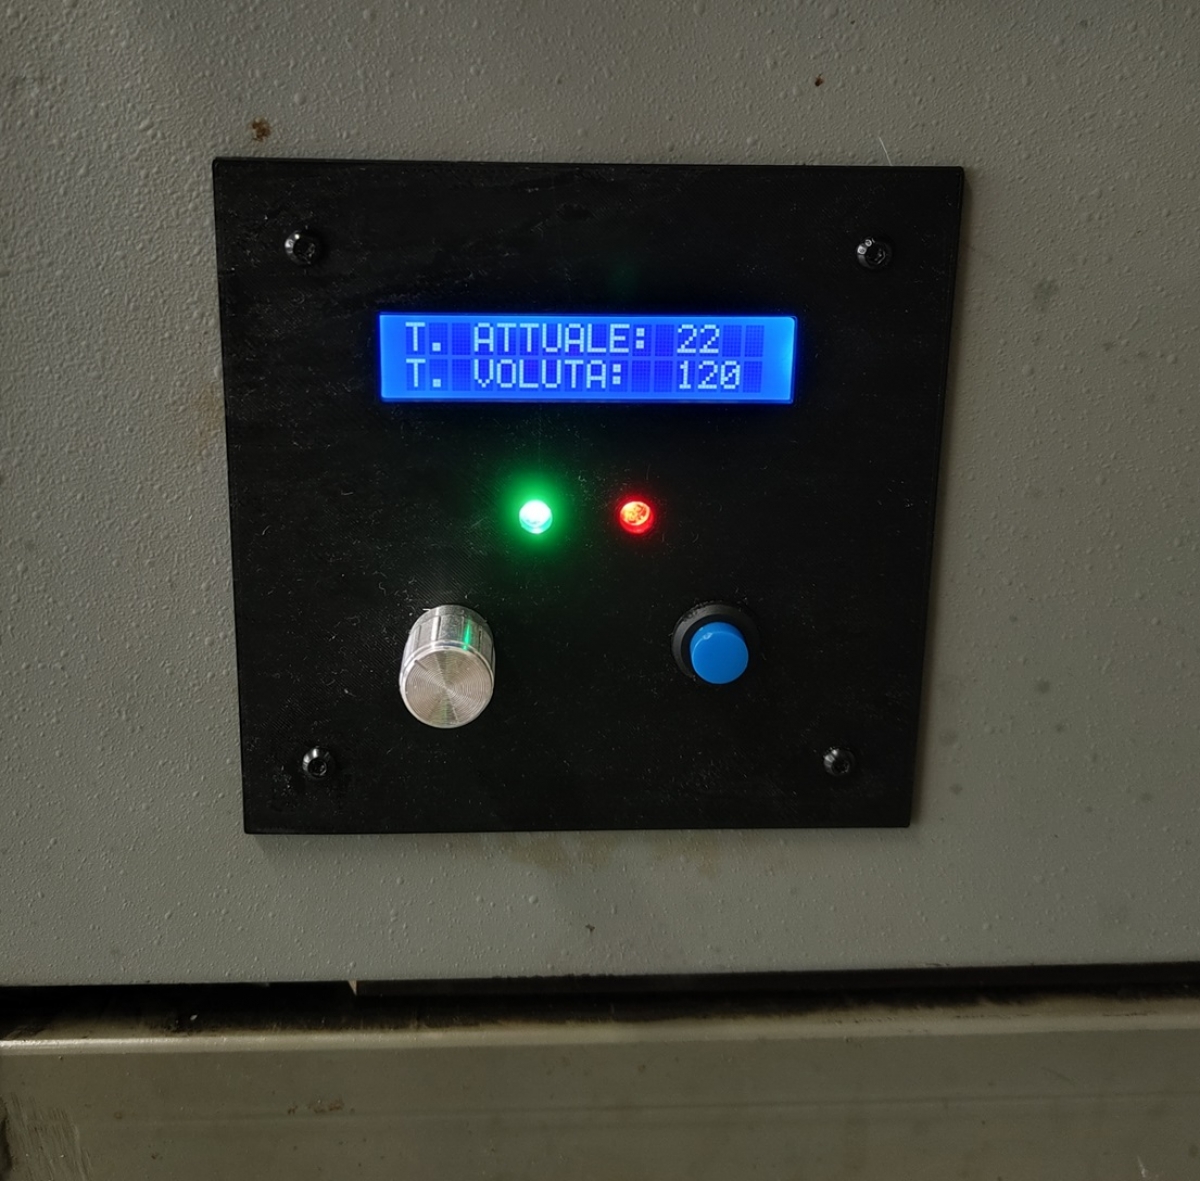
LCD screen (with I2C interface)
Potentiometer
Button
Power LED
Status LED
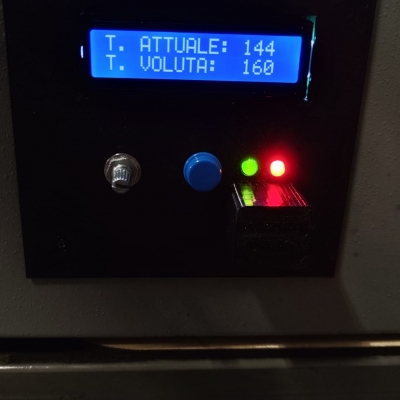
On the screen, two lines are displayed: "Temp. voluta:” and "Temp. attuale:", followed by the desired temperature value and the actual temperature inside the oven. Upon startup, both lines and values are displayed, with the desired temperature value flashing. This indicates that it is in "edit mode," and the user can adjust the temperature value by turning the potentiometer and confirm it by pressing the button. After the button press, the value will stop flashing, indicating that the edit mode has been exited and the oven adjustment process is in progress.
From now on, the oven will heat up until it reaches the desired temperature. It will then turn on and off to maintain a closer proximity to the set temperature.
REMOTE MODE
If the board receives any string through the serial port, the mode is changed to remote mode, and the display shows the word "modalità remota" with one word per line. This mode has a safety timeout of one minute, which means that if no further commands are received within this timeframe, it automatically switches back to manual mode.
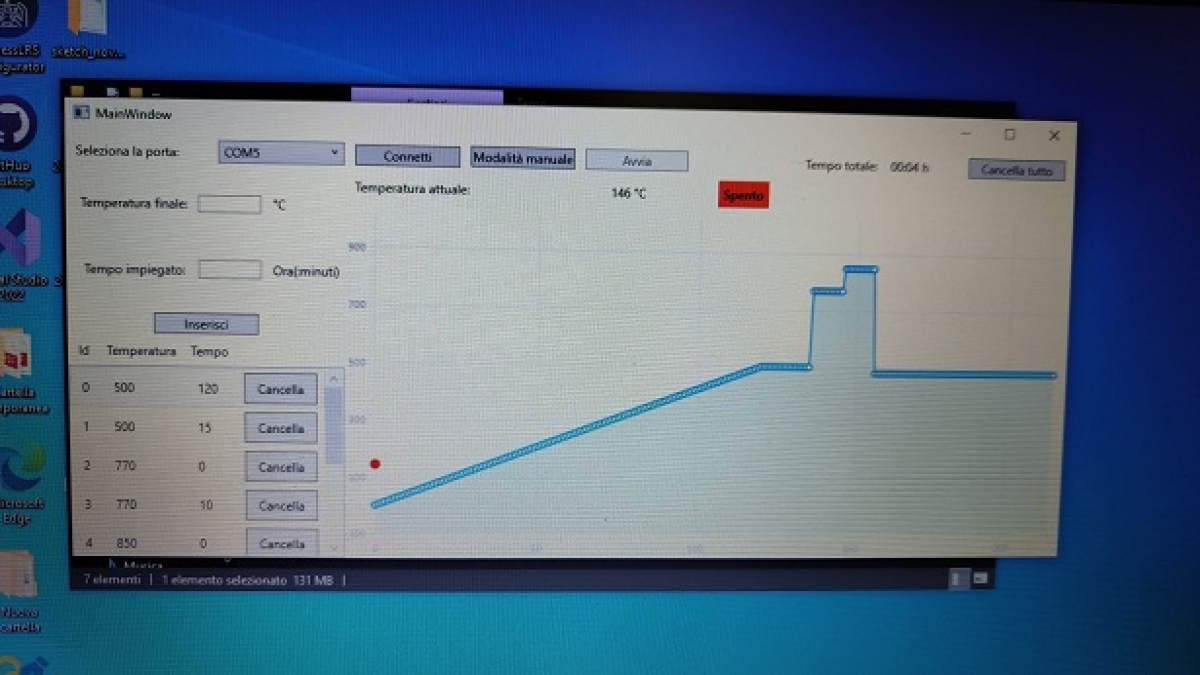
The remote mode is designed to be used with a dedicated software developed by us. Its purpose is to allow the user to create and manage a customized temperature curve and control the board by sending and receiving commands. The explanation of the interface and usage of the software will be covered in the next paragraph.
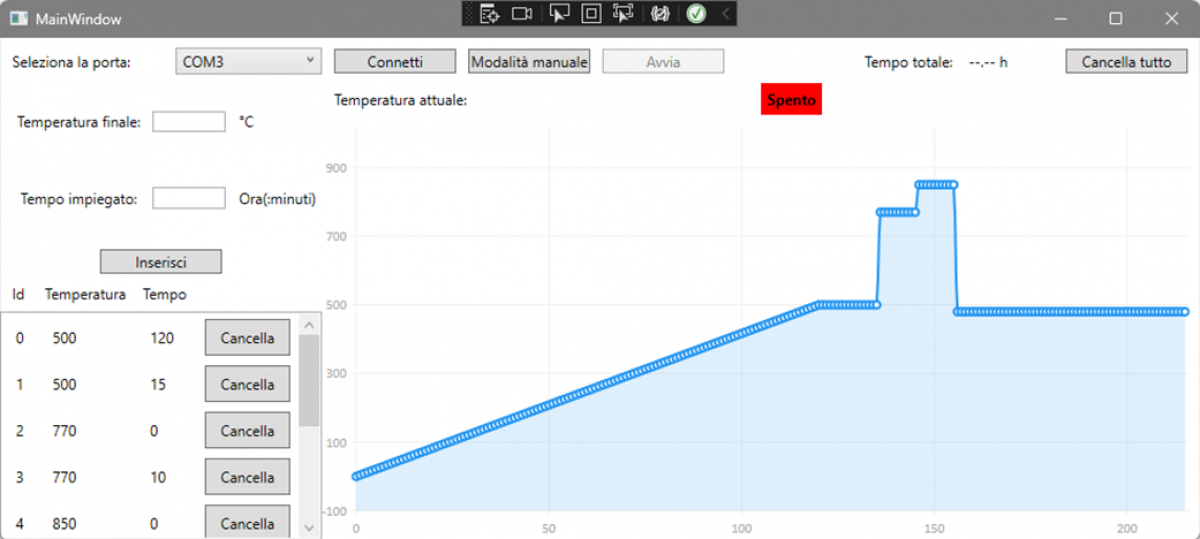
Software
The software interface appears as follows:
There are three commands that the software can send:
-
"R": The Arduino returns the temperature and relay status in the format <temp>:<stat>.
-
"W:0": The Arduino turns off the relay and responds with "S:0" to confirm the operation.
-
"W:1": The Arduino turns on the relay and responds with "S:1" to confirm the operation.
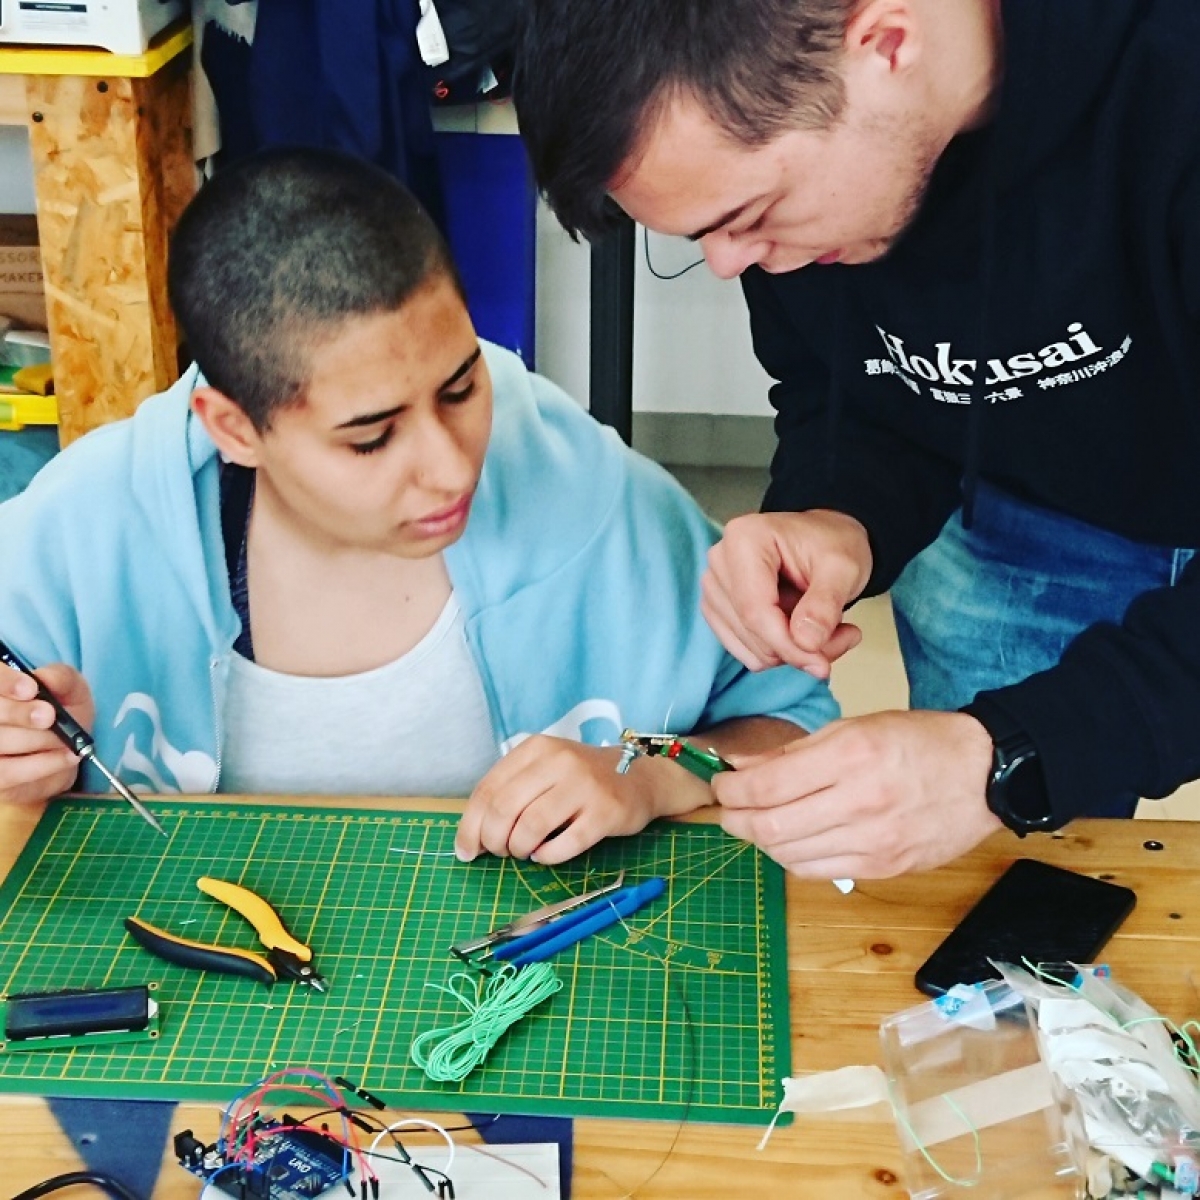
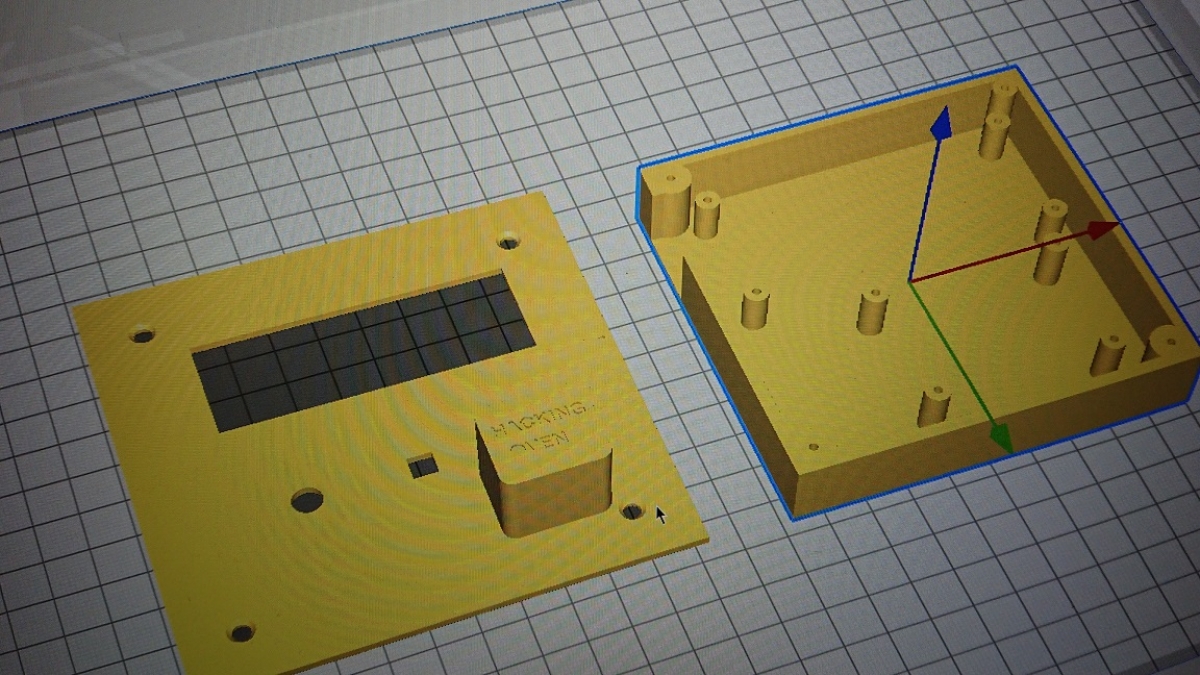
Gallery Progetto